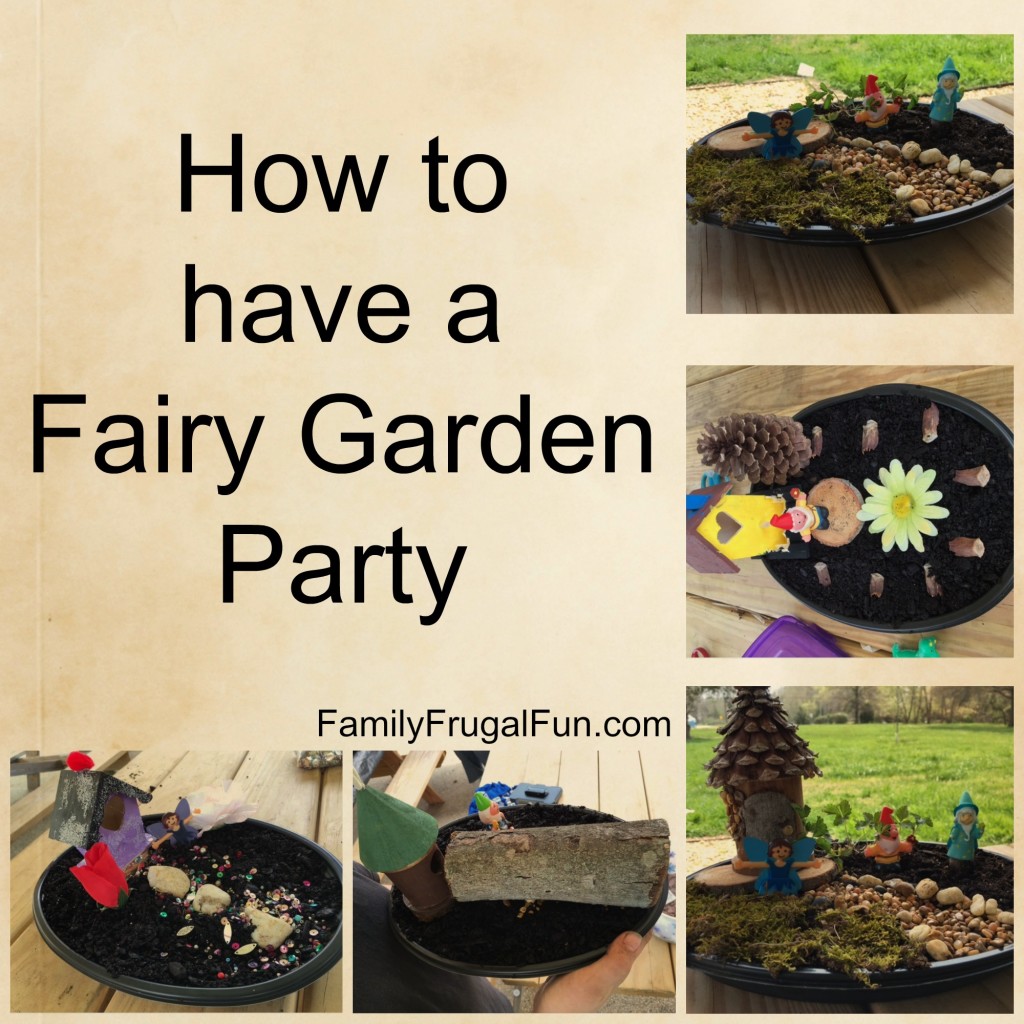
How to have a Fairy Garden Party – One of the greatest joys of being a child is imagining up all sorts of creative creatures and worlds.Superheroes, unicorns, monsters (of the cuddly sort, of course!) and many other wondrous things. Many children all over the world have been fascinated by fairies. Tiny little people with beautiful wings that cause mischief and help make flowers grow. What better way to nurture your child’s imagination than by helping them bring that imaginary world to life? Well we are BIG fairy fans and Tinkeybell fans too and to be that, you need to know how to make a fairy garden and have a fairy garden party!
This article was inspired by my last trip to Disney, of course, where fairies come to life, but I must admit that this project was a joint effort by the most creative person in our home school cooperative, Wendy. Our cooperative all met up at the local park and with her direction did this as a group, fun project. This is an awesome way to let your kids be creative and have something lasting to put out in the yard, or keep in the house, for year round fun! Want to help your children attract fairies? Here is how to make a fairy garden of your very own!
Step 1: Gather up your supplies:
You will need a few supplies to get you started on your fairy garden. In order for everything to go smoothly, get your supplies out before you start.
- Small birdhouse or Fairy house (there are some kits available specifically for Fairy houses)
- Low plastic trays (you can use deeper trays for planting flowers if you like)
- Waterproof adhesive glue
- Pinecones, bits of wood, rocks, anything kids can collect to use in their gardens
- Fairies, gnomes or other small figures (these are 4″ fairies, 2″ fairies)
- Plastic jewels (because what fairy doesn’t love shiny objects?)
- Paint & paintbrushes (optional)
- Topsoil
- Seeds (if you want to plant some flowers in your fairy garden)
Follow the steps below to make the perfect fairy garden for your yard. The kids will love what comes next.
Step 2: Prepare the Trays
You will want to give each kid a low plastic tray or flower planter. Next, you’ll want to place some topsoil in each tray. Fluff up the top soil so that it looks luscious and ready for fairies.
Step 3: Prepare the Fairy House
Kids love this next part: decorating their fairy house. Have the kids pick a spot for their fairy house. Because each fairy is different like your kids, all fairy houses (bird houses) can be decorated differently. Your child can just paint their houses or use waterproof adhesive glue to glue on the following: bits of wood, rocks and pieces of the pine cone to decorate. I loved watching some kids glue sticks (for a thatched rood look) and some gluing individual pine cone pieces! Beautiful!
Step 4: Prepare your Walkway
Just like any house, you need a walkway for just the perfect steps. You’ll want to make sure fairy has a clear path, so make a walkway with some stones, jewels, or seeds.
Step 4: Add the Finishing Touches
Finally, let the kids decorate to their heart’s content. Let the kids pick out their special fairies, gnomes, or other small creatures. Add some seeds to the topsoil if you want your garden to grow some flowers and find a nice place to set your fairy garden.
And now your kids have learned how to make a fairy garden! Have you made a fairy garden before? Why not share your creation in the comments below?!


Leave a Reply