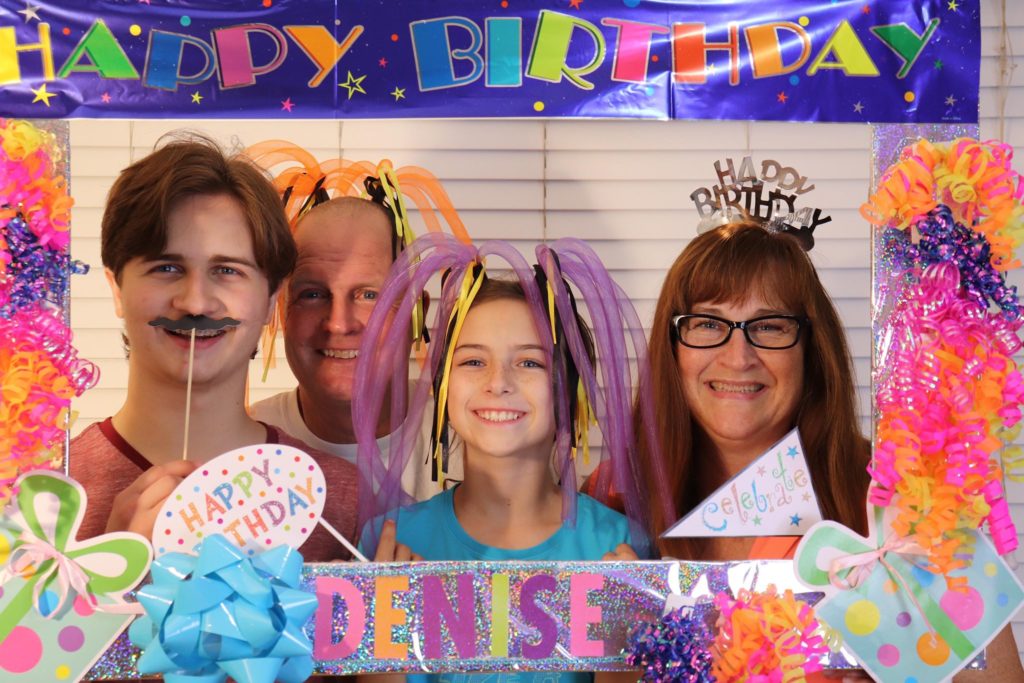
If you really wanna rock your next big party then you have to see this fun tutorial on How to Make a Photo Booth for a Party! It’s so simple that my 9 year old daughter made one with minimal assistance from me. The pictures are bright and colorful and you’ll find that it’s much easier to get those camera shy friends to step up to a wild and crazy photo prop booth than getting them to just smile for a random picture! There’s something fun and adventurous about this party must have that gets everyone laughing…. and smiling for pictures! You can make this photo booth for a party very inexpensively with items from the $Dollar store!
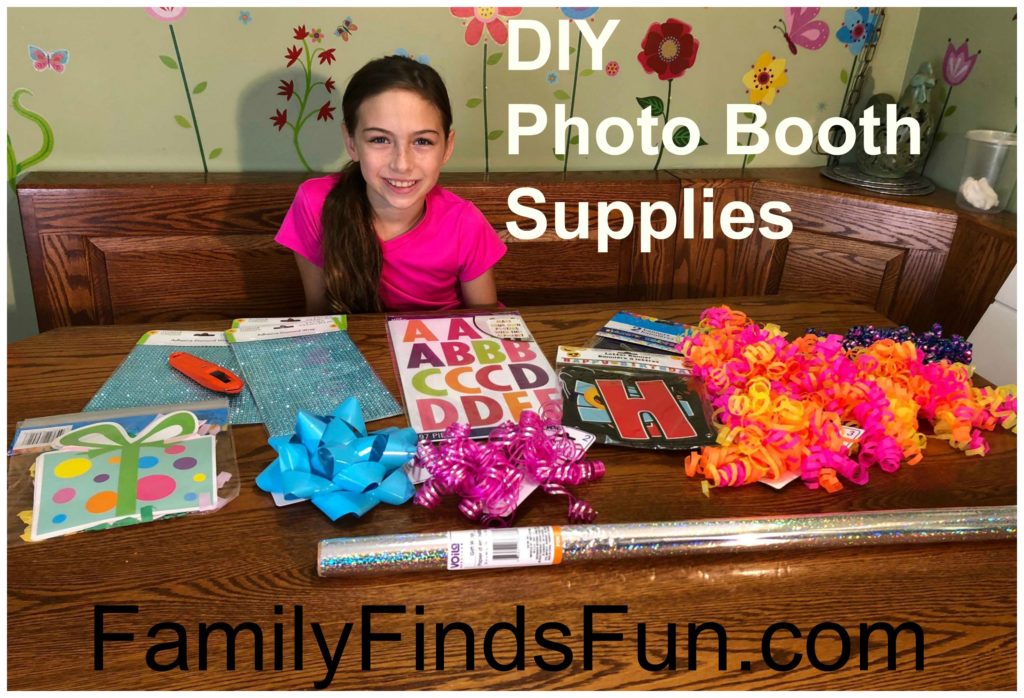
To make your photo prop booth for a party you’ll need:
- Styrofoam board (Dollar Store or Target or Walmart)
- Utility or craft knife (for cutting out the frame)
- Wrapping paper (Dollar Store)
- Lettering (Dollar Store)
- Props (Dollar Store)
- Bows/Ribbons etc (Dollar Store)
- Glue gun & glue sticks
Step #1) Purchase your foam board for your picture frame. You can find these at the Dollar Store, Target or Walmart etc. The frames at the Dollar Store are slightly smaller than the sizes you’ll find at Target or Walmart. We purchased this foam board from Target for $3.99 because we wanted something a little larger for this 50th birthday celebration for a friends party because we knew many families would be invited. If you only need to get 1, 2 or 3 people behind your frame then a foam board from the Dollar Store will be just fine.
Step #2) Cut out the inside of your foam board to create a frame. We decided to make the frame about 4.5″ – that way lettering would fit fine (lettering is about 3″) and any ribbons, bows etc. Be sure to cut this on top of cardboard or take it outside where you won’t ruin your table! We used a utility box knife but if you have a craft knife that’ll work fine as well. NOTE: This is where a child will need assistance from an adult to make the cuts! Be careful and use common sense!
Step #3) Cover your frame with wrapping paper to fit the occasion. We used cheap paper that was fun & shiny from the Dollar Store to keep costs down. It worked well and we used out hot glue gun to attached the paper but you could take it as well.
Step #4) Add your lettering, bows, ribbons and silly things from the Dollar Store– This is a fun time to make up silly hashtags for people to pop on social media or to add a persons name or the name of the event. (Keep it inexpensive – all of the things you see on this photo board were purchased from our local Dollar Store – a great fun place to shop)
Step #5) Set up a small table or box with your props. Dollar Store has photo booth props you can purchase or you can make your own with silly headbands or even pop the glass out of Dollar Store reading glasses like we did (see top image where I’m wearing the photo prop glasses with no glass)
Note: We decided that we wanted our photo booth for a party to be stationary and so we made a frame that is light, durable and easy to use and store for years to come. Stay tuned and I’ll give instructions shortly on how to easily make that frame very inexpensively. Your other option is just to hold up the frame for the party as each individual family/person poses for the picture – either one is fine!


Leave a Reply